Introduction
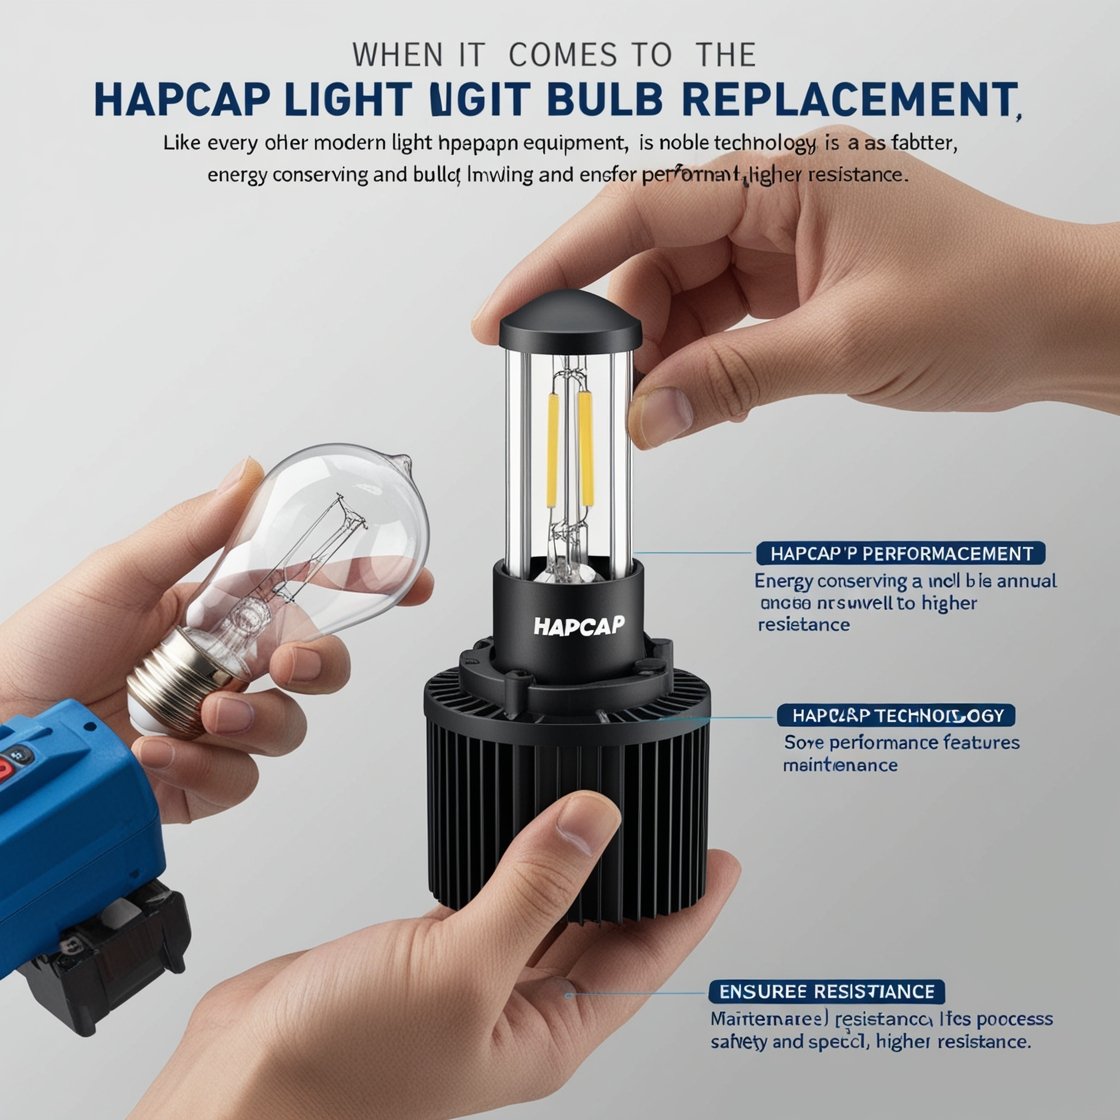
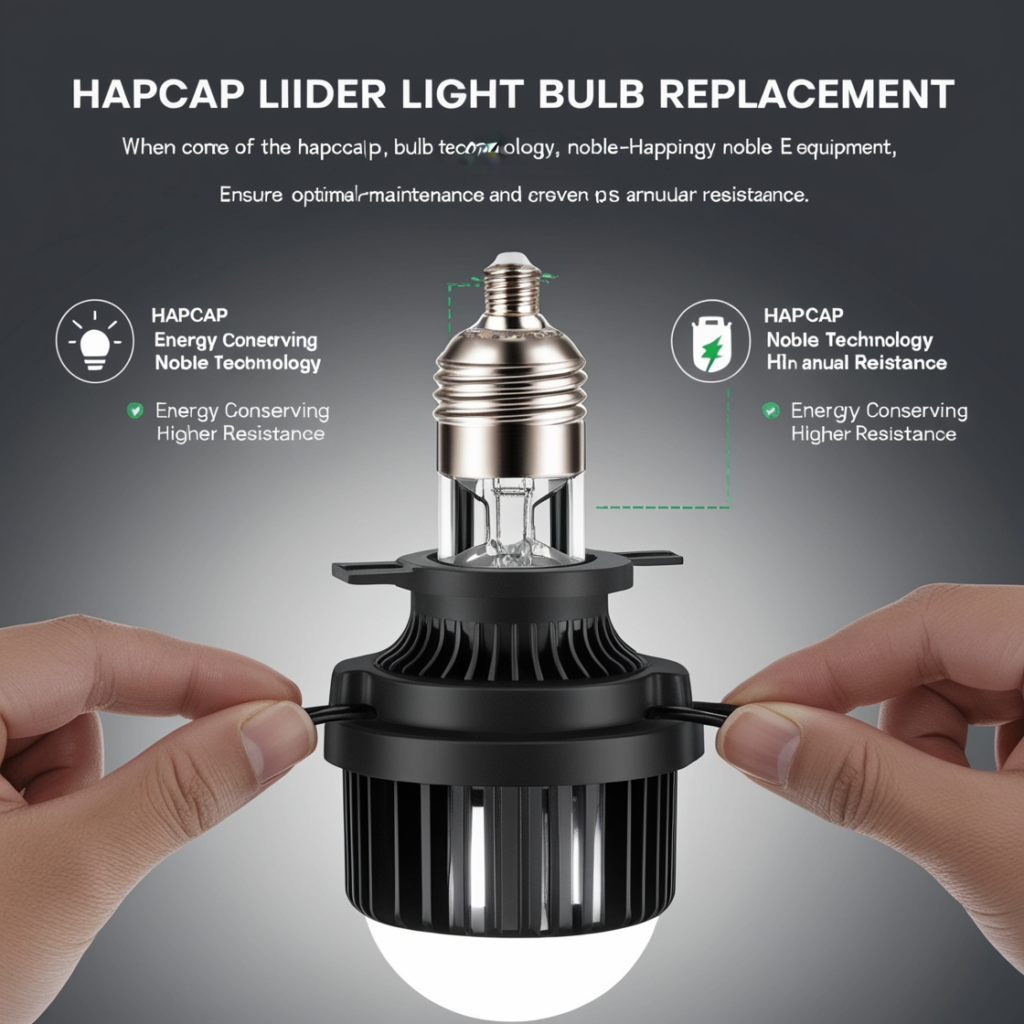
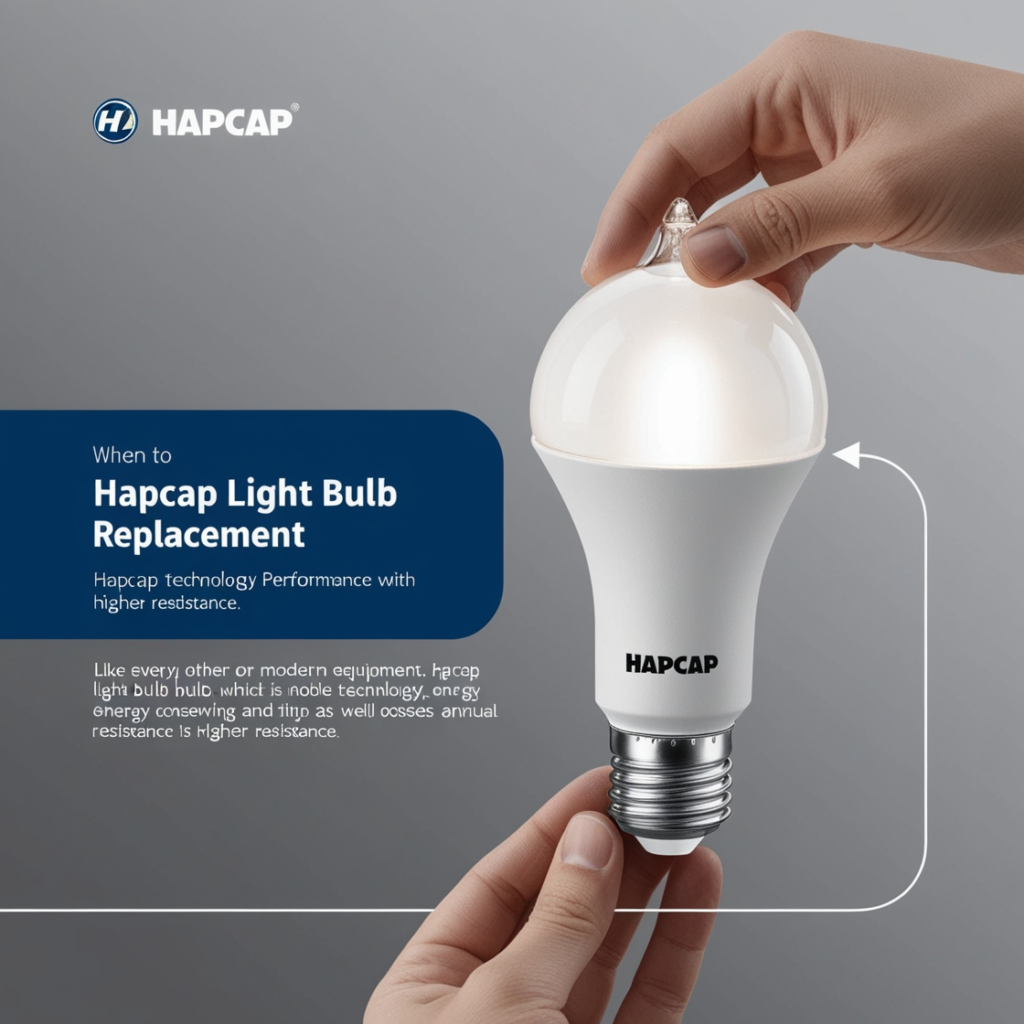
When it comes to the Hapcap light bulb replacement, the process is uniquely tailored to ensure optimal performance and safety. Like every other modern equipment, the Hapcap light bulb is noble technology, which hence makes it energy conserving as well as possesses higher resistance. Regardless of whether it has been done for the initial time or under annual maintenance, it is essential to consider some specific features and measures.
The background to Hapcap Light Bulbs
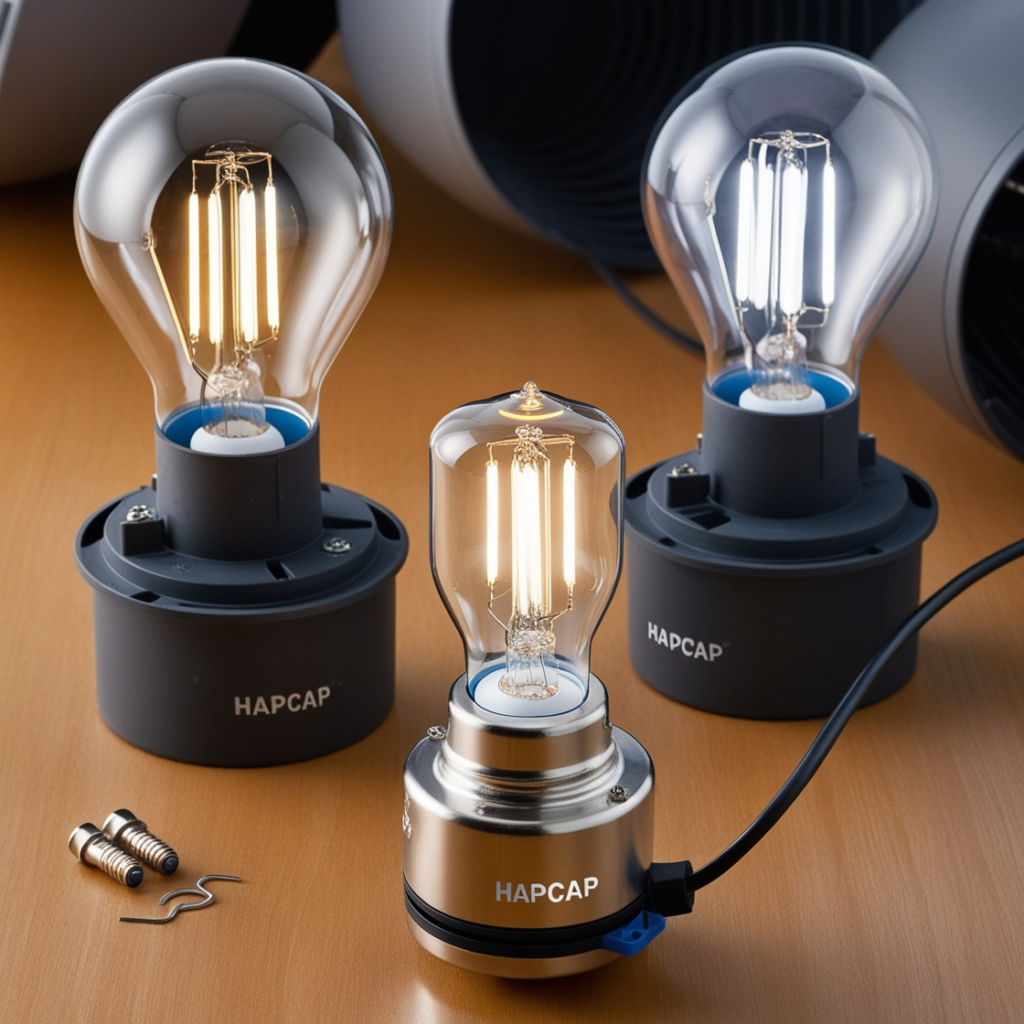
Hapcap light bulbs are famous for durability, enhanced functionality, and technologically sophisticated design. While these can be contrasted to typical light bulbs, these are made with a modern feature set to help make lighting better, last longer and use less energy. Hapcap is popular with users for home and office usage because of the brand’s focus on technological development and superiority. Nonetheless, as with all other light bulbs, these bulbs also have a replacement period that they are not an exception to. The Hapcap light bulb replacement process ensures that you maintain the high performance and efficiency these bulbs are known for.
Identifying the Right Replacement Bulb
Before proceeding with a Hapcap light bulb replacement, it is essential to identify the correct bulb for your fixture. From this list, clients can purchase different types of light bulbs, which include LED, CFL, and bulbs with smart technology. The two types of bulbs have distinct characteristics because of the other uses that they are employed in; therefore, when looking for a replacement bulb for the same one that is already fitted, you need to ensure that you get the right one to fit that specific lighting fixture to avoid falling into the wrong type of bulb. You should measure the wattage, base type, and color temperature of the bulb you already have.
The wattage of a bulb reveals how much power it uses and how bright it will be when lit. New hapcap bulbs can be distinguished individually by wattage equivalent to traditional incandescent bulbs, thus helping you to make your choice. Just like the base type, which may be screw-in or pin-based, it needs to fit your light fittings. Lastly, the color temperature is returned by the bulb to give your space the right feel it needs. Most hapcap light bulbs are from the warm white category to the daylight color spectrum to suit any environment.
Preparing for the Replacement Process
Safety should always be your top priority during a Hapcap light bulb replacement. The first step is always to ensure the light fixture power is off. This precaution helps to reduce any dangers of an electric shock and likewise helps to make the removal and the replacement of such a bulb smooth. The current bulb must be switched off and let to cool before handling it because it can develop high temperatures.
One should also prepare possible paperwork in advance, particularly required tools. Most models of Hapcap light bulbs can indeed be replaced by hand, but for overhead fixtures, one will need a ladder or step stool. When it comes to the specifically enclosed or difficult-to-access bulbs, the use of a bulb removal tool or suction cup will be appropriate. They make it easier to unscrew the old bulb without having to worry about its damage.
Removing the Old Bulb
After the fixture has been switched off and the bulb is cool to the hand, remove the old bulb gently. From the bulb, if it cannot turn, do not use force, or else the glass may crack, or the fixture will get spoilt. In order to remove unlatched bulbs, twist the bulb while twisting the threaded base counterclockwise. If the bulb does burst during the process of taking it out, wear gloves and wipe it with a damp cloth. Make sure that there are none left in the socket before moving on.
Installing the New Hapcap Light Bulb
After the old bulb has been dismantled, then, it is time to fit the new one. Turn the Hapcap light base in the direction of the socket until it fits nicely into the groove and screws on. The major caution of using this type of bulb is that one should not tighten the bulb extremely tight to avoid damaging the bulb or even the fitting. After that, turn on the power and switch on the light to ensure that the bulb is working correctly or not. If the bulb does not glow, compactly twist the base and be sure that the supplied voltage is correct.
Hapcap bulbs are easy to install on electrical connections, but it is best if someone reads the information provided in the product manual. Most Hapcap smart bulbs are designed to fit into homes and require one or two additional settings like installing an application or linking to other smart devices. After washing, ensure you follow the manufacturer’s instructions to ensure the process is as smooth as possible.
Benefits of Choosing Hapcap Light Bulbs
In general, the main benefit of Hapcap light bulbs is energy saving. These bulbs require much less power compared to ordinary bulbs, hence can easily help you cut down on expenditure on electricity. Moreover, the Hapcap bulbs, which are very popular nowadays, can last for as many years before the bulbs are replaced. This long life helps the product to have a long period of use without needing replacement, hence having less environmental impact.
More merits of the Hapcap light bulbs are its high-quality lighting as compared to the other conventional bulbs. Be it intensive and narrow light for the working area or diffuse and diffused light for leisure time, Hapcap has various solutions in store for you. Their bulbs also do not emit any heat; hence safer and more comfortable to use in any setting than the traditional bulbs.
Troubleshooting Common Issues
While the Hapcap light bulb replacement process is straightforward, you may encounter occasional issues. For instance, if the new bulb is flickering or if it doesn’t light at all, then either the connection is problematic, or the socket needs replacement. In such cases, one should check whether everything is installed properly and whether the socket is working and clean. If the problem still exists, you should also check whether this is a bulb problem or a socket problem by using it in another fixture.
The other biggest problem that people face is that these dimmable Hapcap bulbs are not compatible with some dimmer switches. If your new bulb does not dim, check your dimmer switch; it may not be compatible with LED technology. If you switch to an appropriate dimmer, this problem can be corrected, and several general issues with the Hapcap bulb can be solved as well.
Maintaining Your Hapcap Light Bulbs
Residue and garbage can collect on the outer layer of the bulb, lessening its splendor and productivity. Cleaning your bulbs periodically with a soft, dry cloth can help maintain their performance.
It’s also important to monitor the condition of your light fixtures. Over time, sockets and wiring can wear out, affecting the performance of your bulbs. Inspecting your fixtures during the Hapcap light bulb replacement process can help you identify and address potential issues before they escalate.
Conclusion
The Hapcap light bulb replacement process is a simple yet essential task that ensures your lighting system remains efficient and reliable. Hapcap by selecting the right replacement bulb, using the correct safety precautions, and through proper maintenance of bulbs and the lighting fixtures, you will have the wonderful prospect of enjoying the benefits that come with its smart lighting technology. In any case, if you need to install a new bulb or change an existing one, Hapcap impressively simplifies this procedure. Consumers remain loyal to Hapcap light bulbs due to their consistent performance and focus on creating stylish and Trendy light bulbs.
Read More: Flying Distance from Rutland, VT, to Parowan, Utah by Plane